13.7 Retros & Demos
Wrapping up a sprint involves many details that need to be addressed. If new features were completed, you and your team would want to communicate the details of this accomplishment to your collaborators and celebrate the new functionality. If any issues arose during the sprint—such as team members being late for stand-up meetings or confusion in coordination with internal partners—these should be identified and learned from at each sprint's conclusion.
Agile teams use two recurring activities to address these types of loose ends. Retrospective meetings (or retros) are held at the completion of sprints. These provide an opportunity for the team to reflect on what worked well and identify possible workflow improvements. Demonstrations of the new features developed in a sprint, better known as demos, are a way to share and celebrate completed work with internal or external stakeholders (depending on the size of the release). In this checkpoint, you will learn more about these activities and how you can maximize their benefits to your team.
By the end of this checkpoint, you should be able to do the following:
- Explain how to make the most out of a retrospective meeting
- Utilize relevant presentation tools to simulate demonstrating sprint accomplishments
Retros
A retrospective is a meeting for teams to reflect on what they did well, what didn't go well, and how they can improve things. These can be held at the conclusion of a sprint or another recurring basis (such as monthly or every two sprints).
So why do retros? Given the focused drive of sprints, there's rarely a good time to step away from your work and reflect on what's happening. Maybe your team keeps launching features with a lot of bugs. Maybe the team's story point estimates have been way off, causing sprints to get messy. Perhaps the user stories haven't been precise enough for the designers and developers, necessitating several rewrites that lead to delays on your features.
The solutions to these problems are bigger than one person can solve. And, whatever solution is applied in the heat of the moment is unlikely to address the real source of the problem. It's best for the team to take time out when everyone can focus on the big picture. Collectively, the team can discuss what worked, what didn't work, and the changes that could optimize the team's flow. Now, you'll take a look into how retros work.
The three questions
Initially, retros focus on answering three questions. Each person has an opportunity to give their responses to the questions. It's important that everyone on the team answer these candidly; change and improvement requires honest self-evaluation. You'll now take a closer look at these questions.
What worked well?
The first question of a retro is focused on celebrating what your team did well. This can include the following:
- Ways the team collaborated and problem-solved effectively
- Benefits from process improvements (such as ideas from previous retros that worked well)
- Recently shipped features and stakeholder response
- Team changes like new hires, promotions, or reorganization
- Successful outcomes from past releases (such as achieving KPI targets)
- Individuals who went beyond their basic responsibilities to support the team
As a best practice, focus less on what shipped and instead focus on how well the release went or on the team accomplishments. Be specific. Here are some examples:
- Thank the developer who put in extra hours to fix final bugs that would have prevented a feature from being in the release.
- Give kudos to the team for completing every story in the last sprint on time.
- Celebrate your most recent feature launch, which exceeded its KPI by 100%.
- Highlight how the team seamlessly coordinated with the infrastructure team on a tricky issue.
Pat yourselves on the back for work well done! The team should feel good hearing each other's responses to this question.
What could be better?
The second question focuses on things that did not go so well. Some teams ask, "What went wrong?"—but since the focus is on improving things, it's better to avoid framing the questions negatively. The responses you get from this question are important opportunities. Identifying and addressing them will make the team's work experience better. Just using this question to point out failure and criticize your teammates isn't helpful.
Common items that come up include the following:
- Issues that are limiting the team's productivity, like poorly written stories or too many interruptions throwing off the team's flow
- Recurring problems, such as not completing all the stories in your sprints or poorly estimating stories
- Effects from the product team trying to shield the team too much from distractions in management, causing the team to feel out of the loop and distracted by worrisome gossip
Focus on two things during this section. First, be honest. Solving an issue requires the whole team to be very candid about what's happening. Seek to figure out the root cause of a problem not just the surface-level issue that is causing immediate frustration. Being honest is hard, especially if it requires questioning why a teammate is not pulling their weight. That person could be struggling to understand the user stories, need more help with a new technology, or have personal issues pulling them away from their work. Being candid and honest is key to identifying these issues—and addressing them.
Second, don't take these issues personally—especially if it's something related to you. Retro is about identifying opportunities for improvement for the whole team. If an issue is creating problems for the team and it's your responsibility, identify why it's happening and what is needed to resolve the issue for the entire team.
What will we commit to changing?
Once the team has identified its successes and problems, it's time to plan next steps. This is often about resolving the problems, but it can also be about making the interactions that enable the successes a standard practice. The team should select the changes that will have the biggest impact and make addressing them an action item. For each action item, assign an owner to take the lead, making the change or addressing the issue.
The team may need to research an issue before assigning an owner. For instance, if your team is struggling to have an impact on the organization's KPIs, first focus on identifying the underlying issue. Is it because recently released features to address the KPIs were poorly designed or implemented? Is more user information needed? If it's poor design, someone on the UX team would take the lead. If it's understanding users, then the product team should own it. If there's no clear owner, anyone can take the lead (but it's usually the product manager).
Other team members can help the owner work to fix the problem between this retro and the next one. At the beginning of the next retro, owners of any issues from the previous one will report on it. While each team member goes through their questions, it will become clear whether the issue has been addressed or it's still a pain point for the team. From there, the team will collectively determine how to proceed—keep working on the same solution or explore other ones?
The secret to an effective retro is for team members to commit and follow through on addressing the identified opportunities for improvement. It's easy to use the retro to vent frustrations and then not commit to work on the issues raised. This lets down your team; it prevents the team from becoming more productive and maturing professionally. As product manager, strive to be an exemplar for your team. Do your part by taking ownership and following through on team improvement during every retro.
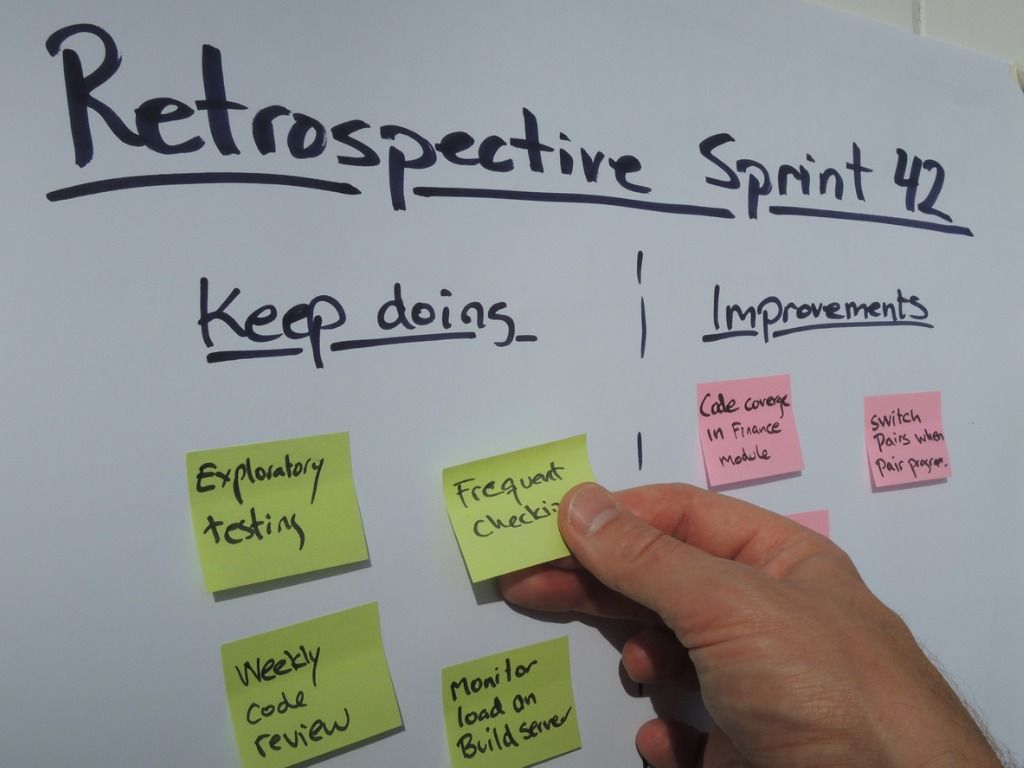
A typical retro
Now that you know what retros are all about (the three questions), explore what a retro meeting typically looks like and what you will need to do as you run one.
Assign someone to take notes
As a best practice, someone should always take notes at the meeting. Given the structure of the meeting, the notes usually follow a standard format. The notes should be shared following the meeting—usually on a shared drive or within your team's productivity tools (such as a tagged card in Trello or a file in Pivotal Tracker). During the meeting, it can be useful to project the notes as a reference during the discussion.
Review progress on the action items from the last retro
The owner of each action item from the last retro should give an update. Find out if the issue has been addressed. If not, discover what help is needed to make progress. If it's resolved, record it as closed.
Go through the three questions
As a best practice, each person on the team should give at least one response to each question. It is helpful to time block this part of the meeting. This keeps the pace moving and allows time for discussion. For a group of less than eight, it should take less than 20 minutes for everyone to answer each question (x3 questions = less than 60 min).
Assign action items
Be explicit about who owns each item and what that person is being tasked with addressing. It is wise to include this information in the meeting notes that will be shared and reviewed at the beginning of the next retro.
Retro best practices
Here are some tips to help your retro run more smoothly and effectively.
Who should attend
Retro participants typically come from the same group that attends the team stand-ups. Visitors to your stand-ups, like a marketing person who came once or twice, should not attend. Retro is specifically for the core team. Limiting participation also lets the team feel more comfortable being honest and candid with their feedback.
One person runs the meeting
Assign one person to run the meeting. This person should ensure that the retro is moving along. They are in charge of monitoring the time and making sure that each person answers each question with at least one example and that each action item has an owner.
Timing
Ideally, a retro is scheduled when the team has just completed a sprint. This lets the team shift their mindset from sprint deadlines and apply the retro learnings to the next sprint. As a rule of thumb, retro meetings should be one hour long for each week of work being reviewed. So if retros happen every other week, about two hours should be allocated. Try to schedule it at the start or end of a day to minimize the impact on your team's flow.
Write retro issues as they happen
During a two-week sprint, the team will encounter several items to be discussed at retro. Everyone on the team should be encouraged to make a note at the time they encounter them. This will help prevent the team from overlooking issues that could become forgotten during the time between retros. It also helps maintain focus. Instead of repeatedly thinking, "I need to remember this for retro," the team member can make the note and return their focus to work.
Be constructive and honest
This is worth repeating. Retros are only useful if the team can be honest and reflective with each other. Don't attack others or get defensive about what's discussed. Provide positive feedback when people discuss hard topics. Focus on finding solutions. Ask questions to get to the heart of an issue.
The video below by Atlassian provides more information on pulling off a successful retro.
Coach Ling has a really nice retorspective meeting guide too
Demos
As your team completes new features and updates to the product, it's the product manager's responsibility to share information about the launch with coworkers that contributed to or use the product as well as with customers. Many teams have a tradition of sharing mini-demos with internal stakeholders to show what they completed at the end of a sprint.
Regardless of the circumstances, product managers must be confident giving a demo, sharing new releases, and teaching users about new features.
End-of-sprint demos
If your team gives demos at the end of each sprint, the goal is for the team to celebrate the sprint. Invite coworkers from across the company to these demos. It's an important opportunity for the team to show off the cool updates they made to the product.
In these cases, it's a good practice to have the developers demonstrate the changes they made. This lets them take credit for their work. If they don't want to, you can present it. But it's a valuable opportunity for developers to foster presentation skills and be spotlighted for their work.
This type of demo should occur at the end of a sprint. It should be timeboxed to avoid wasting coworkers' time and getting too deep into the details with a large group. A good practice is to schedule this when coworkers are likely to be free—around lunch or at the end of the day. It also provides an opportunity for the demo to be fun and social, especially if your company will pay for lunch or snacks.
Record these demos and make the recording available for anyone who couldn't attend. This keeps your coworkers informed about changes and encourages open communication.
End-of-sprint demo alternatives
If your team doesn't do sprint demos, the product manager still has a responsibility to share sprint victories with your coworkers. You can do this in a few ways.
The most common way is by sending an announcement to your team by email, by Slack, or through your company's preferred communication method. Provide enough info in the announcement for recipients to get a high-level understanding of the change, but also keep it succinct enough that it will be read. Provide links for additional information, such as product documentation or a video of the feature.
Product managers can also take your demos to other teams' meetings. Your sales and marketing team leaders should be happy to give you five to ten minutes during their team meeting. Showing their teams the new features will keep them informed and excited for upcoming enhancements. Also, be mindful; these teams are heavily invested in your product and have a lot of opinions about it. A demo can quickly devolve into discussions about feature ideas or problems. Coordinate with the lead beforehand to help keep the demo focused. And be willing to set up a separate meeting for representatives to share their concerns so you don't take up time in their team meeting.
Intro to screencasting
A screencast is a recording of what's displayed on a screen along with voice-over narrating what's happening on the screen. These are often used to demo new products or enhancements to a product. They are great for announcing new features with your company—just share the video that explains how the new change works.
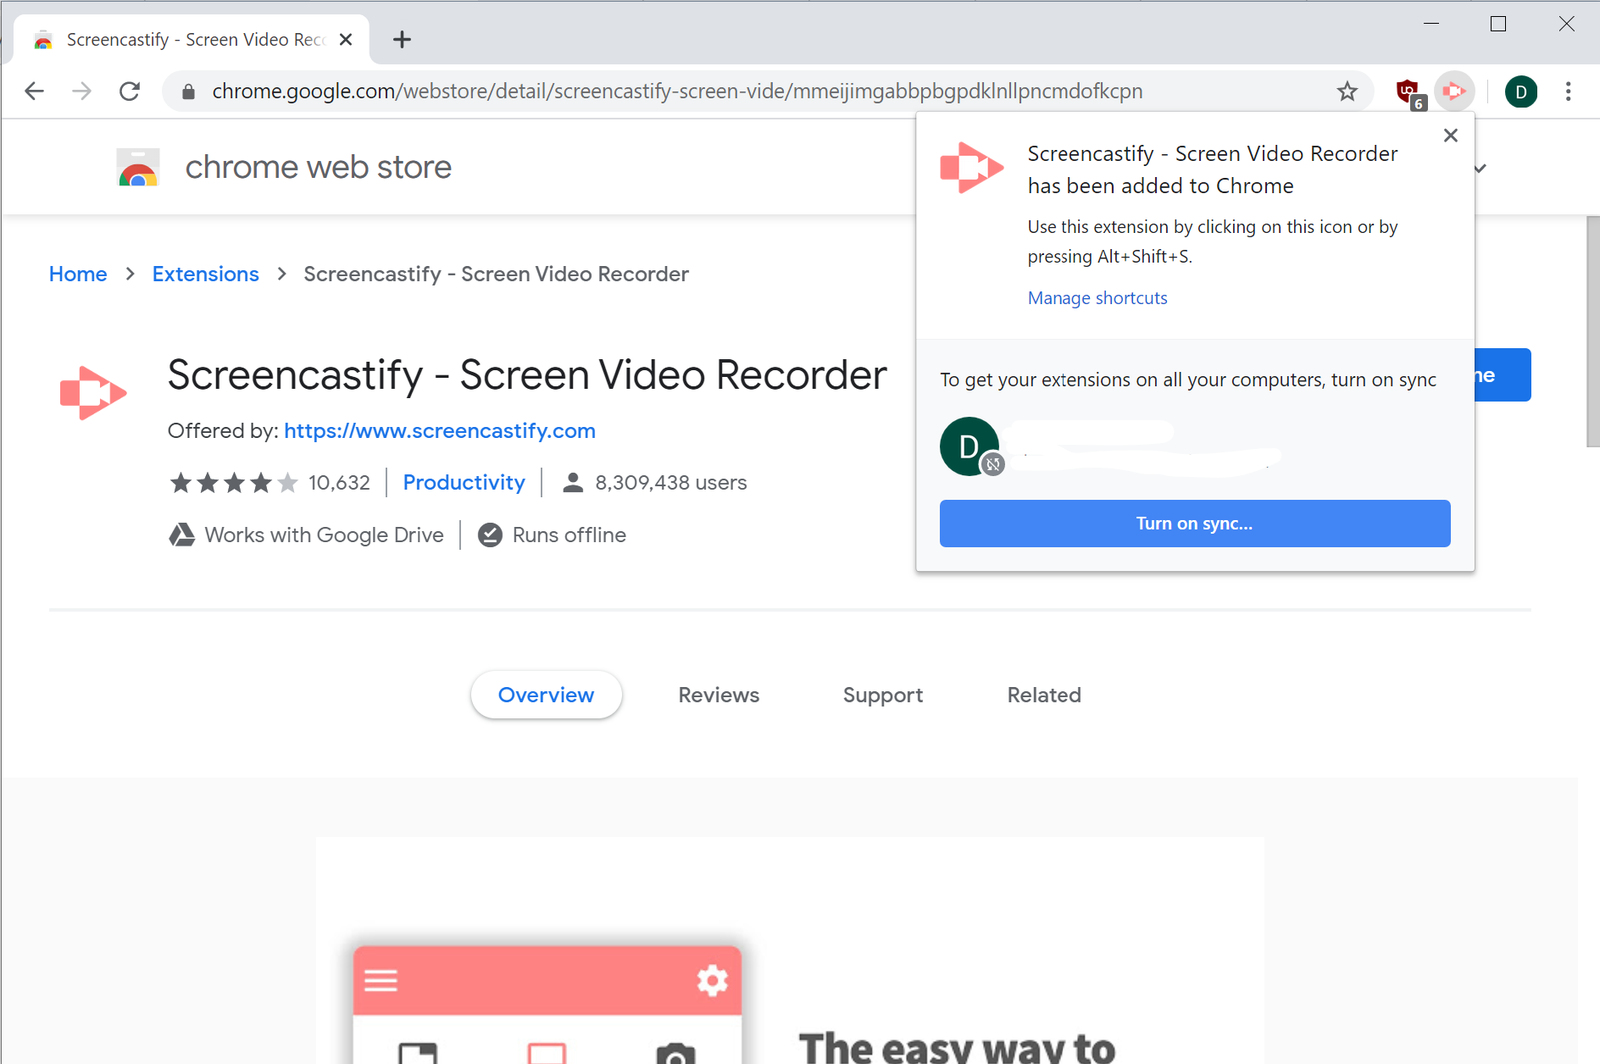
Now, you'll have the opportunity to watch a demonstration on how to use Screencastify to quickly and easily record demos. You'll need Chrome, so make sure you have Chrome installed. Next, go to the Screencastify page and install the extension.
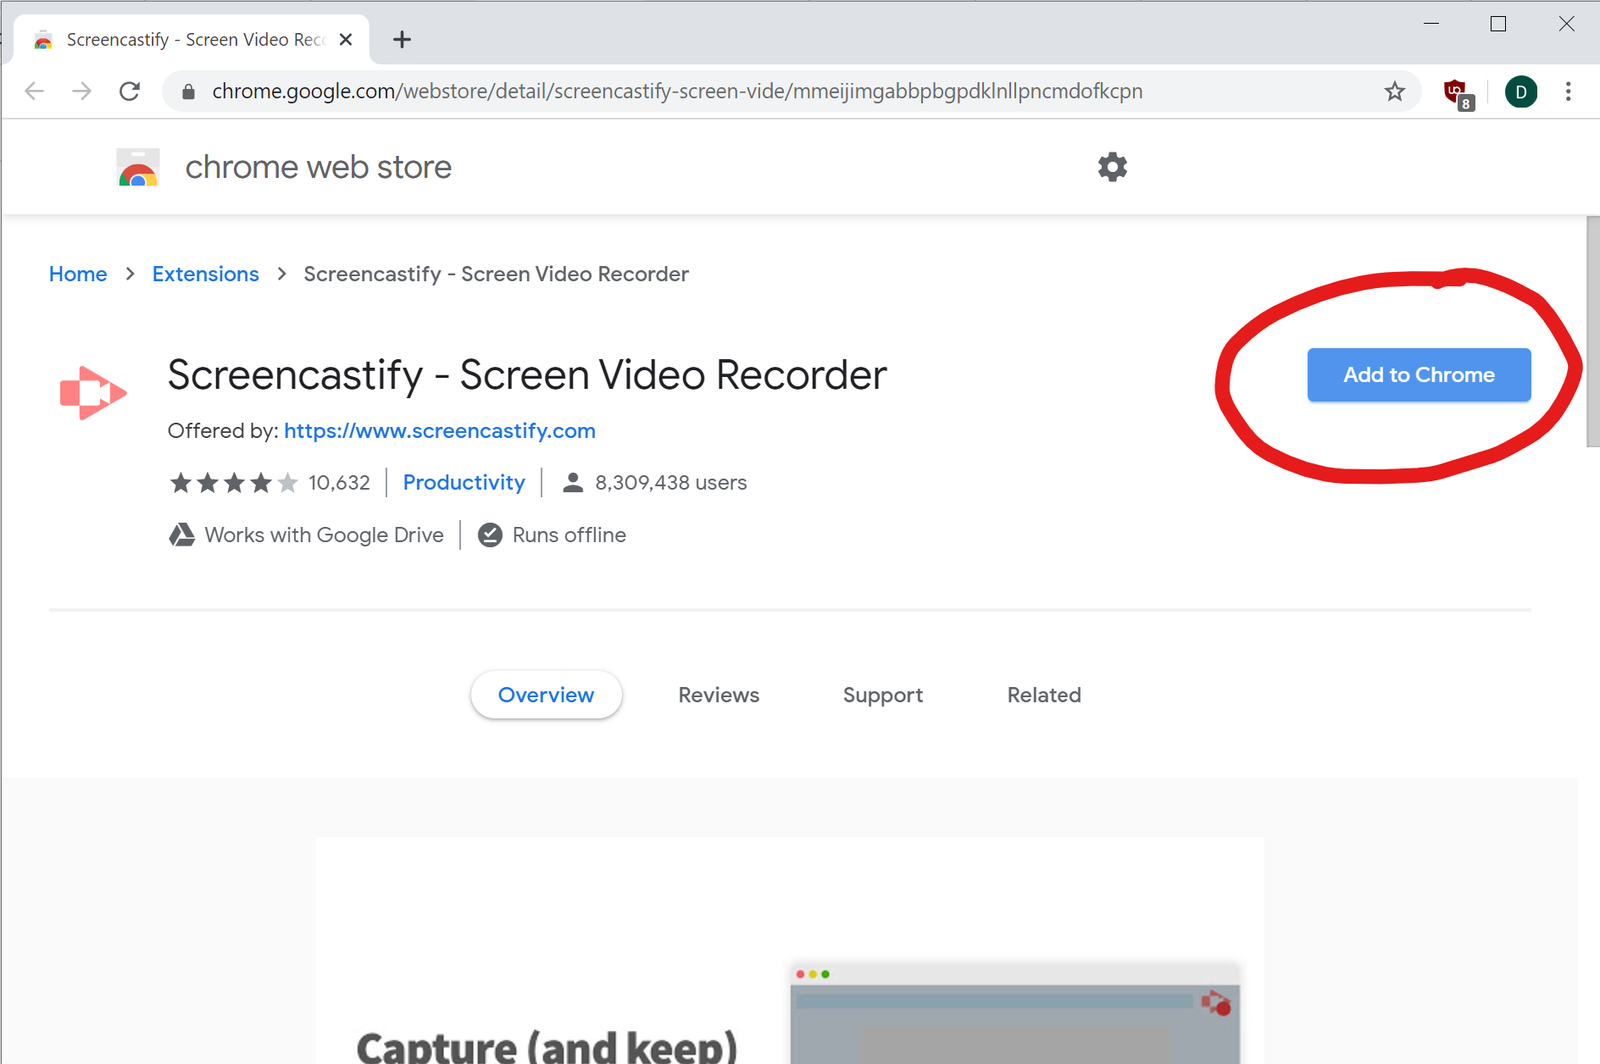
Follow the approval prompts until you see this confirmation that the installation is complete:
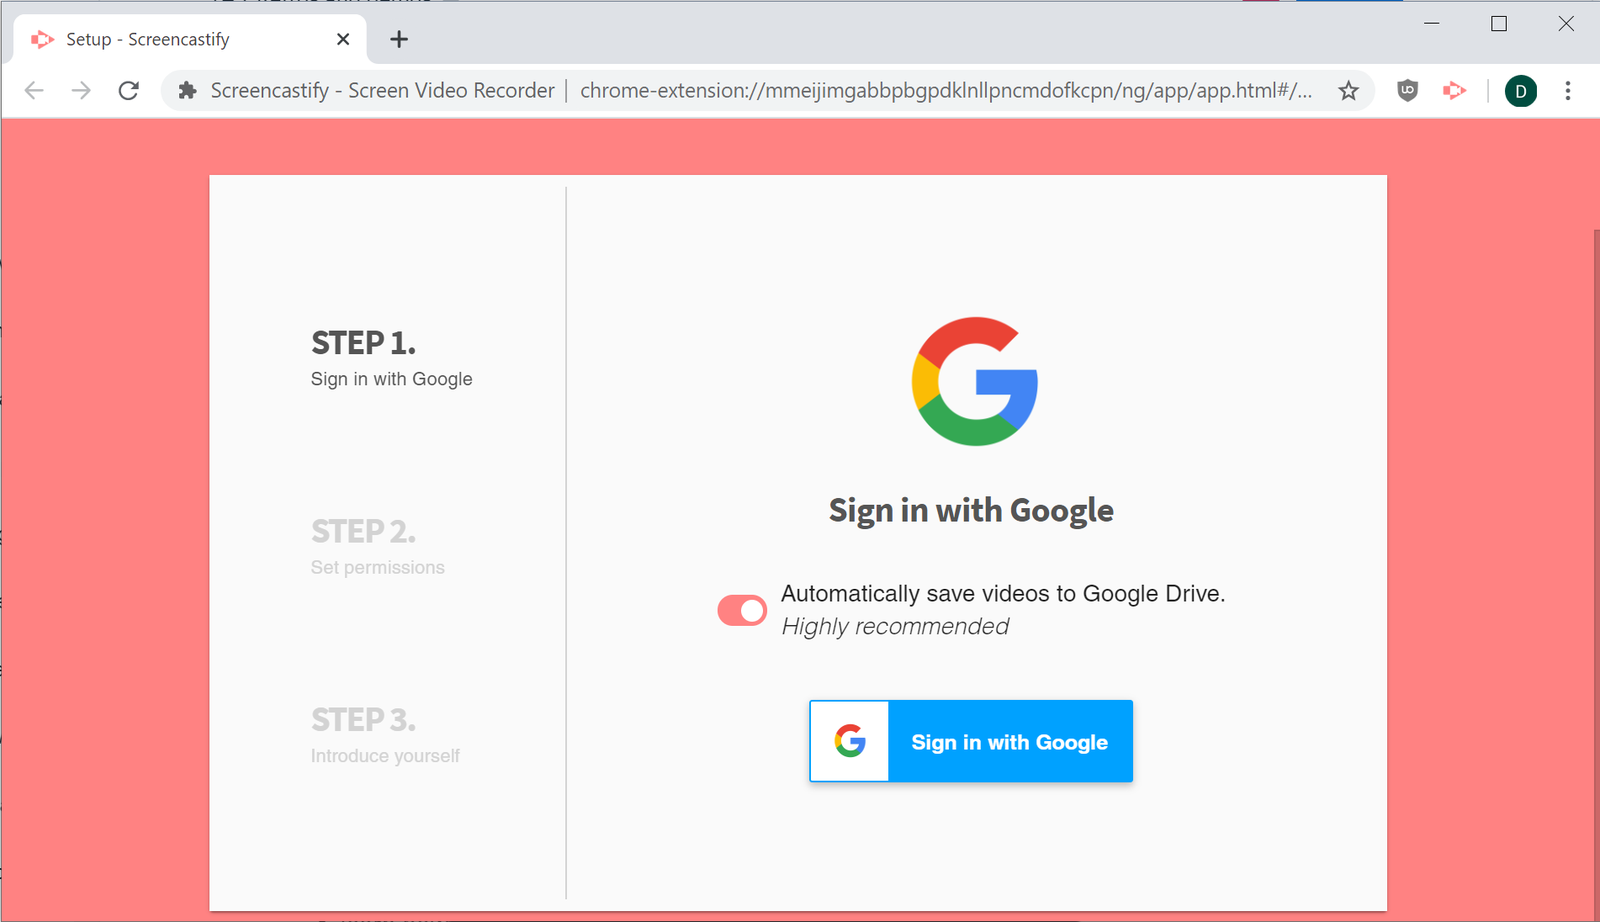
You'll need to sign up for a Screencastify account. Click the Screencastify icon in the top-right of the screen. Follow the steps to sign in and set up your account. You'll need to agree to the requested permissions so it works correctly.
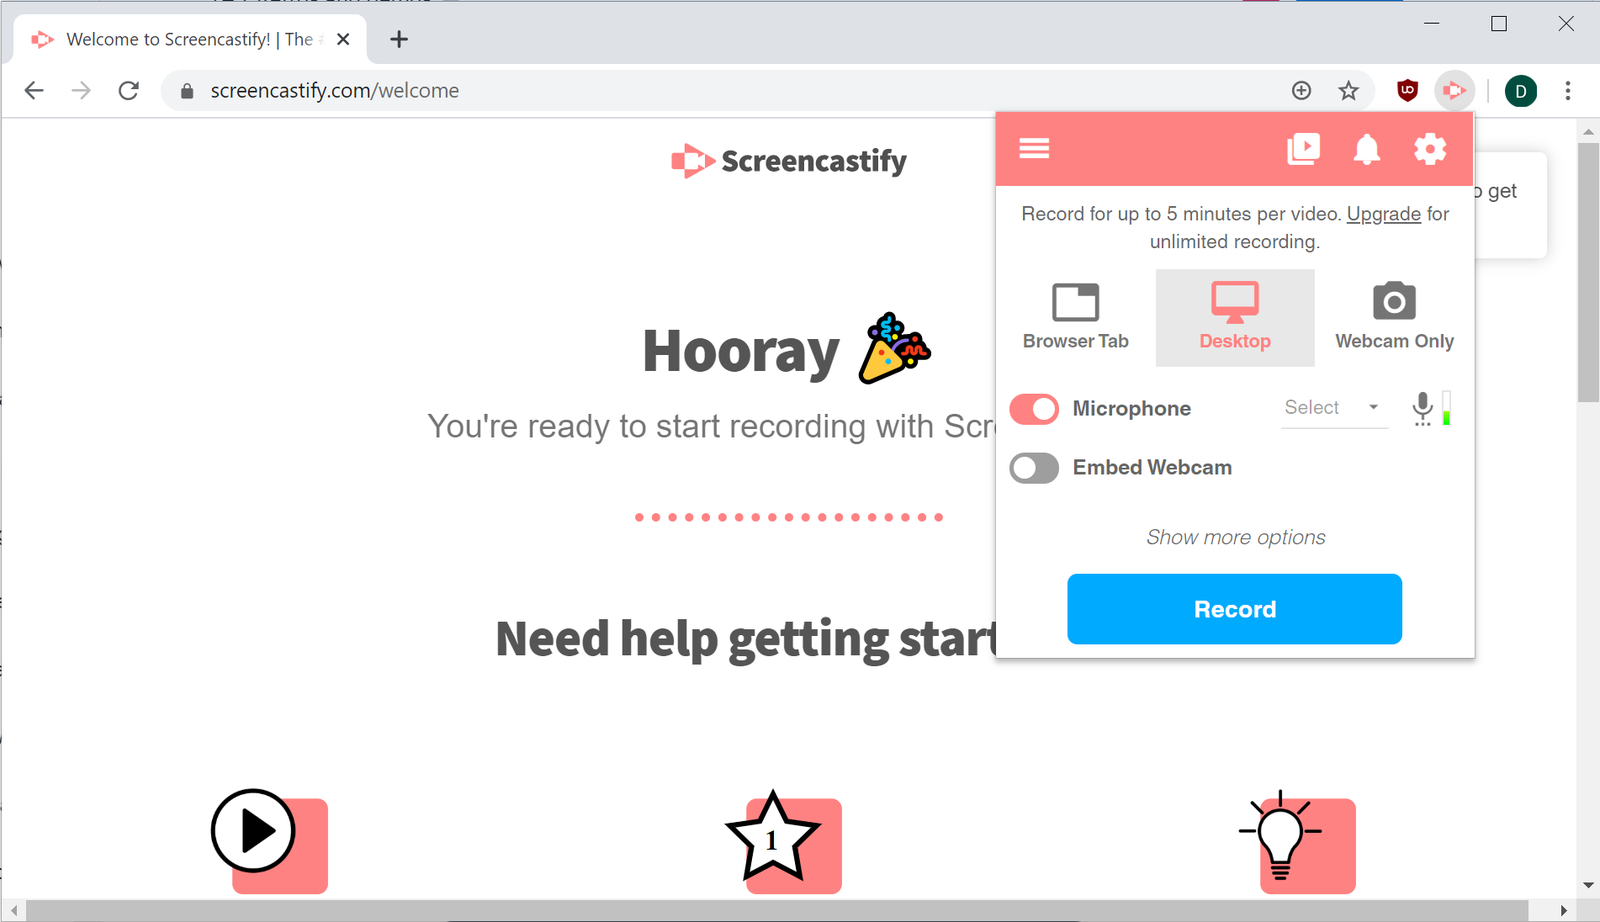
You'll know you've set it up correctly when you see this page:

Now when you click Screencastify's toolbar icon, a new menu will appear. This means you're ready to start recording.
Tips for a great screencast
Screencasts can be pretty straightforward. Walk through the main user flow of the feature you want to demonstrate. You don't need to cover everything—just the happy path example. A screencast doesn't have to be perfect, but a little effort will ensure a great one.
Keep it short
Try to limit the screencast to two minutes or less. That's not a lot of time, but a demo covers the high-level details of a feature. It should move quickly. If you're tempted to go longer, think carefully about whether or not the additional content is worth including in this video. If more details are needed, a separate video or written documentation may be a better way to provide them.
Write and practice a script
Spend a little time to write what you want to say—what you want to call attention to as you move through showing the feature. Run through the script once or twice to make sure it flows well and that it's not too long. You'll record the screencast in one take; a script will help you to move more fluidly through the demo without missing anything.
Only record the app
Most screen-recording apps let you limit the recording to a single window, tab, or application. Do this. Don't record your whole desktop because it could capture notifications, menus, or other distractions that you don't want in the demo.
Record in a quiet place
Make sure your audio comes through clearly when you record your screencast. Find a quiet room where you won't be interrupted during your recording. If you have access to one, use a good microphone or headphones with a microphone to minimize background noise.
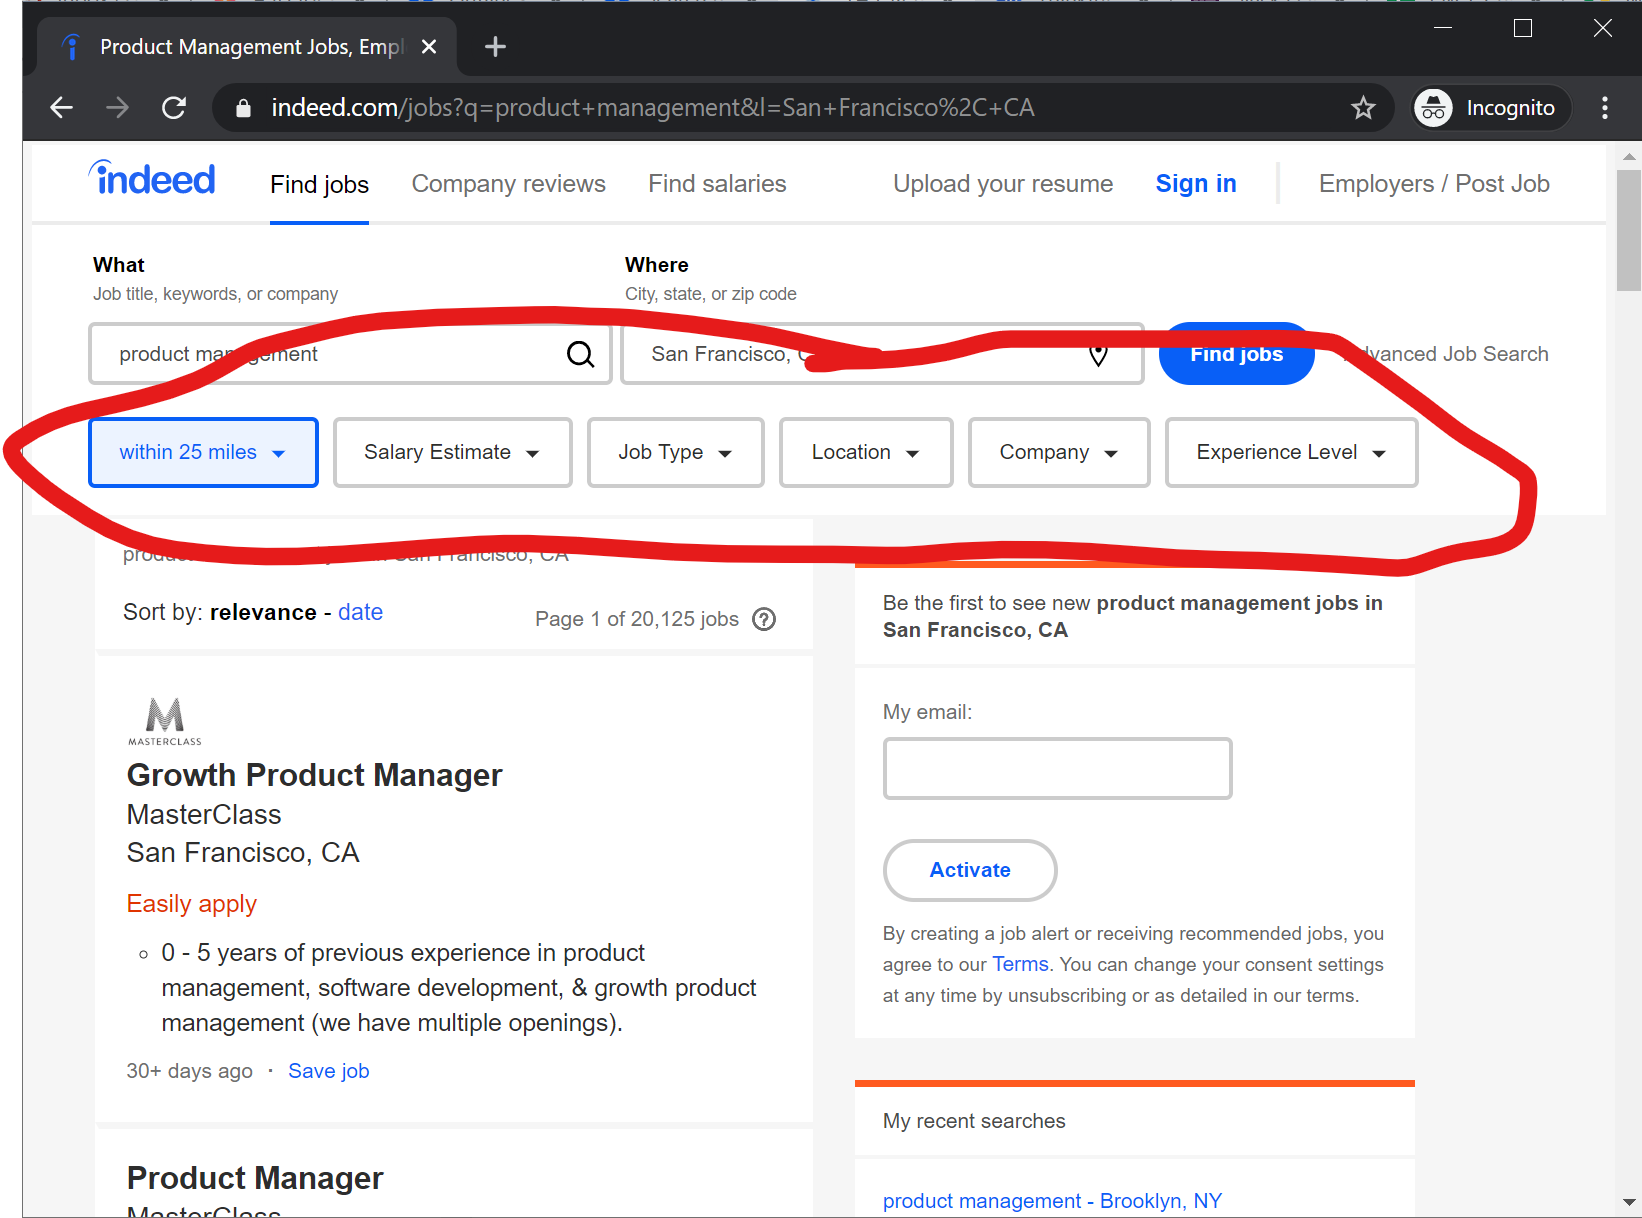
Practice ✍️
You are a product manager at Indeed, and your team just launched the ability to use filters when searching for jobs (circled below). To see the filters, you first need to complete a search. Record a screencast demonstrating how to use this new feature. Remember the tips above for making a good screencast: keep it short, write a script, only record the app, and make sure there are no background noises.